


Skittering bits across polished porcelain can ruin expensive wall installations in seconds. Hard glazed surfaces reject standard twist drills, turning a simple plumbing anchor project into a chipped nightmare. Getting clean anchor holes requires pairing steady, low-RPM rotary power with specialized carbide or diamond-tipped bits rather than brute percussion. Evaluating tool balance, clutch settings, and trigger modulation helps identify the best drill for tile without cracking delicate materials. Smooth torque delivery prevents aggressive bit wandering right at startup.
Water cooling and light forward pressure keep cutting temperatures down, extending the working life of diamond cores. Many renovators prep subfloors first with the best sander for floorboard before mounting plumbing fixtures and grab bars to fresh tile. Using a drill with a sensitive variable speed trigger lets you score the outer glaze gently before deepening the hole at controlled speeds. Compact cordless tool bodies also reduce wrist fatigue inside cramped shower stalls. Choosing the proper rotary setup safeguards your finished work and saves replacement tiles.


Frequently Asked Questions
Can you use hammer mode when drilling tile?
No, hammer mode will shatter ceramic and porcelain tiles almost immediately. Tile demands rotary-only drilling so the abrasive diamond coating or sharpened carbide spear tip can grind through the glaze smoothly. Percussive hammering sends shockwaves through the brittle substrate, causing spiderweb fractures. Keep your drill switched strictly to standard rotary mode to protect your finished walls.
What speed setting works best for drilling porcelain tile?
Low speeds between 400 and 800 RPM deliver the cleanest results while preventing heat buildup. High-speed spinning overheats diamond drill bits, burning off the cutting matrix before penetrating the hard porcelain core. A feather-light variable speed trigger allows you to start the hole slowly to establish a groove. Maintaining modest RPM and applying cooling water extends bit lifespan significantly.
Why does a drill bit slip when starting a hole on glazed tile?
Polished tile glaze creates a slick surface that prevents standard bit tips from biting. You can stop bit walking by placing masking tape over the drill mark or starting the bit at a slight angle to create an initial notch. Alternatively, a dedicated suction guide holds the hole saw firmly in place. Using the Best Drill For Tile setups for 2026 with steady hand pressure keeps your pilot cut centered.
Are diamond drill bits better than carbide bits for tile?
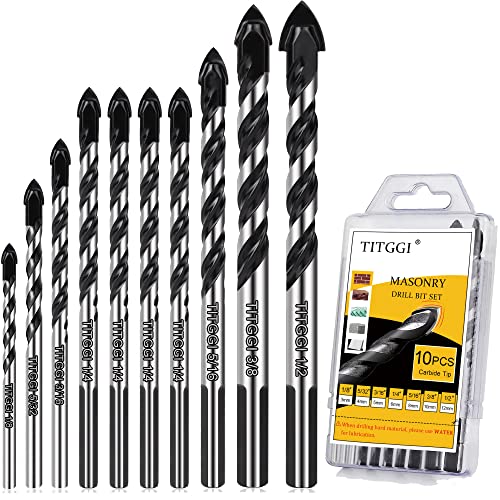
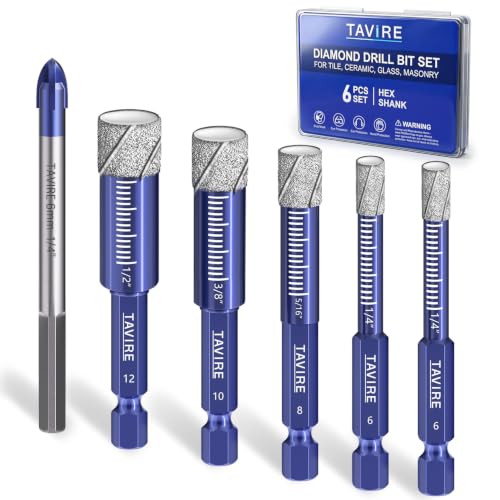
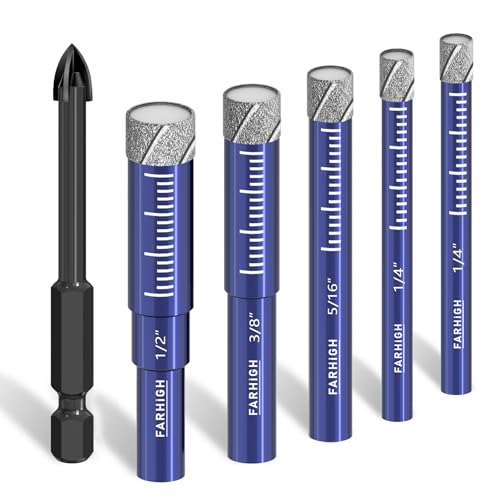
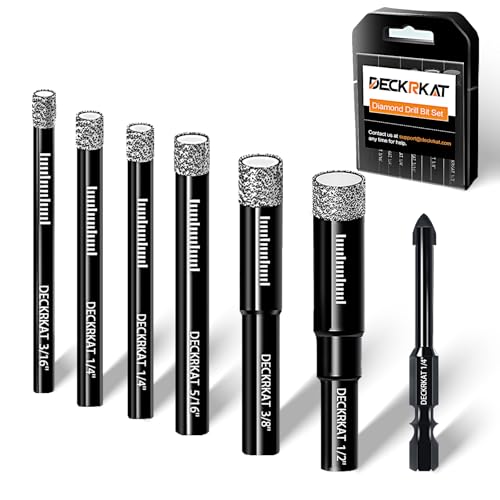
Diamond core bits are significantly better for hard porcelain and stone, while carbide spear bits handle softer ceramic tiles well. Dense porcelain wears down standard carbide tips within seconds. Diamond-grit hole saws grind away the ceramic matrix through continuous abrasion rather than cutting edges. For durable bathroom installations, diamond accessories offer superior longevity and clean hole edges.
Does chuck size matter when choosing a drill for tile work?
A standard 3/8-inch or 1/2-inch keyless chuck works reliably because most tile bit shanks measure 1/4-inch hex or round. All-metal ratcheting chucks provide dependable gripping pressure, preventing bits from slipping under steady forward feed. Minimal chuck runout is also critical because bit wobble can crack brittle tile edges. If you also work on adjacent trim or cabinets, finishing details with the best detailing sander completes the overall installation.




Write Your Review
No reviews yet. Be the first to share your experience!